
 CMH Mazda Randburg has compiled a few easy steps to help you in the unfortunate event:
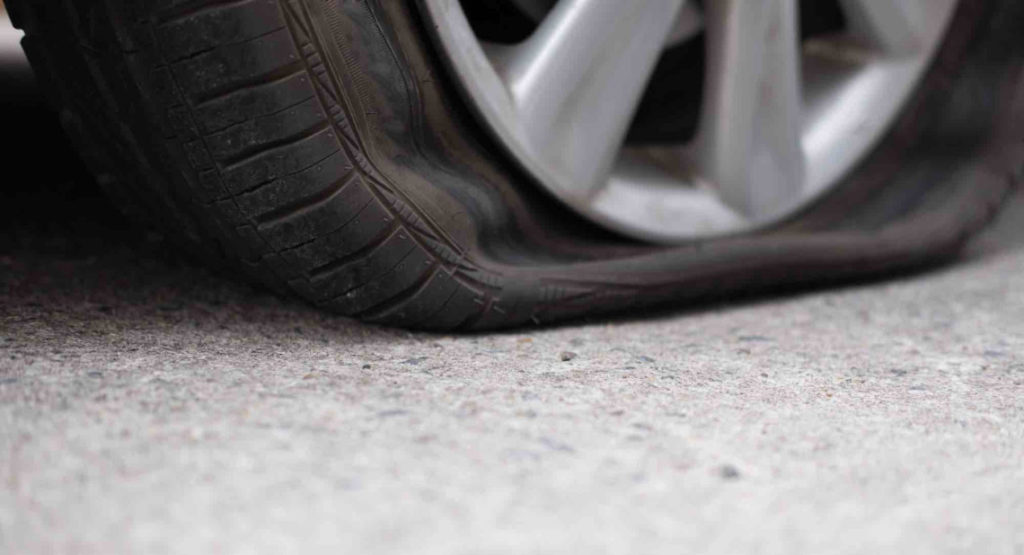
The first step is to slowly pull over and try to park from a safe distance from the road away from the passing vehicles. Put on your hazards lights and make sure your Mazda vehicle is parked with your handbrake on.
The next step will be to loosen your wheel nuts by one turn. Remember, turning a bolt or nut anti-clockwise will normally loosen it, whereas turning it clockwise, or to the right, will tighten it (lefty loosely, righty tightly…). Try a quick anti-clockwise jolt to loosen, or if you need more force, carefully use your foot or get your body weight behind the brace.
Once all the nuts are loose, look at your Mazda vehicle’s manual to find the correct point to place the jack. Slowly wind the jack to raise the vehicle until there is about a 5-10cm gap between the road and your tyre. Remove each wheel nut completely and put them in a safe place.
Slowly remove the flat tyre and place it under the car (using it as a support mechanism just in case the jack gives way). Take your spare tyre and line it up with the wheel holes before placing the tyre onto the wheel hub. Put the wheel nuts back into place and tighten them as far as you can using your hand.
Remove the flat tyre from underneath the vehicle and wind the jack down until the spare tyre is taking on the vehicle’s weight. Remove the jack. Use the wheel brace to fully tighten your wheel nuts. Place your tools and flat tyre back into the boot in a secure place.
CMH Mazda Randburg has compiled a few easy steps to help you in the unfortunate event:
The first step is to slowly pull over and try to park from a safe distance from the road away from the passing vehicles. Put on your hazards lights and make sure your Mazda vehicle is parked with your handbrake on.
The next step will be to loosen your wheel nuts by one turn. Remember, turning a bolt or nut anti-clockwise will normally loosen it, whereas turning it clockwise, or to the right, will tighten it (lefty loosely, righty tightly…). Try a quick anti-clockwise jolt to loosen, or if you need more force, carefully use your foot or get your body weight behind the brace.
Once all the nuts are loose, look at your Mazda vehicle’s manual to find the correct point to place the jack. Slowly wind the jack to raise the vehicle until there is about a 5-10cm gap between the road and your tyre. Remove each wheel nut completely and put them in a safe place.
Slowly remove the flat tyre and place it under the car (using it as a support mechanism just in case the jack gives way). Take your spare tyre and line it up with the wheel holes before placing the tyre onto the wheel hub. Put the wheel nuts back into place and tighten them as far as you can using your hand.
Remove the flat tyre from underneath the vehicle and wind the jack down until the spare tyre is taking on the vehicle’s weight. Remove the jack. Use the wheel brace to fully tighten your wheel nuts. Place your tools and flat tyre back into the boot in a secure place.
 If you’ve completed these steps correctly, and feel safe to do so, you should now be in a position to get back on the road. You have successfully just changed your own tyre all on your own.